Now that Labor Day has come and gone, and people are (gasp!) already starting to talk about oatmeal and Pumpkin Spice Lattes, I think it’s time to address a breakfast trend that has been all over Instagram and Pinterest during sunny, warm-weather months.
I’m just going to come right out and say it: Smoothie bowls are nothing but big fat lies.
Bulking up the freezer with breakfast options is one of the secrets to successful meal planning. Costco and an afternoon of cooking is the secret to making freezer breakfasts to last my family a month.
Here’s how a trip to Costco and one afternoon of work can save breakfast — one freezer sandwich at a time.
It took me a long time to get over feeling intimidated by cooking meat on the stovetop. For a while, I simply avoided it, and then in learning I made my share of mistakes along the way. But with the right tips to guide you, the stovetop is one of the quickest, easiest ways to cook delicious chicken, beef, and pork.
Here are the five most common mistakes that are made when cooking meat, plus our best tips on how to avoid them!
For a vegan breakfast sandwich that will power you through the morning, look to this pita pocket stuffed with a blend of spiced chickpeas and sautéed veggies. It’s prepared in advance, then stashed in the freezer, ready to be reheated in the oven while you buzz through your morning routine.
When you need a satisfying snack to fuel you through the afternoon slump or help you recover from an intense workout, what do you reach for? My guess is some sort of sweet bar with dried fruit, nuts, and oats. And while granola bars are great, sometimes you’ve just got to switch things up — take a walk on the savory side with these homemade power bars. You won’t regret it.
This skill is often overlooked in most training programs, or treated as a transition movement to the rack position in preparation for others skills like the Military Press or Squats. However, the kettlebell clean is valuable and beneficial, as a stand-alone skill.
It isn’t one of the easiest skills to learn, but once you’ve mastered it, the kettlebell clean is one of the easiest to perform.
In this article, I’ll start with a step-by-step review of the kettlebell clean, then take a look at it as a transition exercise, discuss its importance for other exercises, and review some variations you can add to your program as stand-alone skills—but only after you have mastered the basics. In the final video I’ll show you some common errors with the kettlebell clean and how you can, well… clean those right up!
First Things First: The “Cheat Clean”
When working with someone new to kettlebells, or new to kettlebell cleans, I like starting with a modification called a “cheat clean.” Though its name may imply that this version of a kettlebell clean is somehow inferior or not the correct way to perform a clean, it’s actually a great movement to start with when learning to clean, and I use it with all my beginner students.
If you are a beginner and have never performed a kettlebell clean, or you’ve been doing cleans for a while, but keep bruising your wrists*, it’s a good idea to start with (or step back to) this modification, before progressing to a proper kettlebell clean.
*Note: A kettlebell clean should not be leaving bruises your wrists or forearms.
Want results? Let us help you!
In this FREE report, we detail why you’re probably not getting the results you want, and what to do. The good news? It’s simpler than you might think!
Make sure you understand the movement and stay safe—read the step-by-step cues below for the cheat clean as well as the proper kettlebell clean, then watch the video before you try these skills:
Start by standing about a foot back from your bell with your feet about shoulder width apart or slightly wider.
Hinge at the hips while keeping your feet planted and shins mostly vertical, pushing your hips back until you feel a slight hamstring stretch or “catch.”
Maintaining a flat back and keeping your lats engaged, reach for the bell’s handle with your right hand using an overhand grip and place the left hand on the other side of the handle, keeping a loose grip over your the fingers of your right hand.
In one smooth motion perform a two-handed hike (similar to the hike in a kettlebell swing), then stand up explosively.
As the bell begins to come back toward the front of your body, do not allow your right elbow to lose contact with your ribs. Rather, bend at the elbow and “spear” your right hand up your body as if “zipping up” a jacket. The left hand remains on the bell’s handle for support.
Finish with your bell in the crease of your bent arm, with your thumbs pointing at your right collar bone. Pause momentarily with your body in a standing plank position (core engaged, ribs down and aligned over your hip bones, neutral spine, glutes tight), then re-hike and repeat a few more times.
Rest, and then perform the same thing on the opposite side.
Until you are smoothly finishing in the rack position consistently, I do not recommend doing cleans for a high number of repetitions.
How To Perform A Proper Kettlebell Clean
Stand in the same position as with the cheat clean above, only this time you will grab the bell only with the right hand. You can leave your left arm by your side.
All other steps are the same as above. It is important to note that the working hand and arm stay close to the body and the kettlebell should not be flipping and banging down onto your wrist.
Watch the video below for demonstration of the cheat clean and proper kettlebell clean before giving this skill a try:
Using The Clean As A Transition
The clean is often a transition step to get into the starting position for other skills such as the military press and squat. To stay safe and reduce the likelihood of an injury, this skills must be dialed in.
We have a saying at StrongFirst: “Your press is only as good as your clean.” If you clean a heavy bell, but it’s sloppy and knocks you off balance, you likely won’t be able to press it, or if you manage to press it, it won’t be with good, safe technique. The same holds true when doing front squats. If you do not have a solid clean—with a pause in the rack position with your abs braced—your squat will not be as strong. Cleans are also used as a transition to other kettlebell skills like the push press, jerk, and bent press.
When you realize just how important it is to have a good clean, you can see how spending some time building a solid foundation with each new bell size will help you improve your ability to perform each skill.
Adding Variety After Mastering The Basics
After you have mastered the kettlebell clean, you can begin to load it with heavier bells, or work on more challenging versions of the movement to add variety when training the clean as a stand-alone skill. The following are three of my favorite clean variations. Review the step-by-step cues, then watch the video to make sure you understand the movements.
1. Dead Clean
The dead clean is done without the hike pass.
Begin with your feet about hip-width apart or slightly wider, and place the bell between your feet in line with your ankle bones.
Hinge and grip the bell by the handle with your right hand.
With an explosive hip drive, stand up straight as you pull the bell up your body into the rack position. Note: If you miss the explosive hip drive required here, this drill will turn into a very ugly (and possibly painful) bicep curl and you’ll miss the benefit of this skill entirely.
2. Bottoms-Up Clean
The bottoms-up clean can be performed in the same manner as the proper kettlebell clean or the dead clean, however in the final position the bell ends up balanced upside down in your hand, greatly increasing the difficulty level.
One of the many things I love about the bottoms-up clean is that it exposes any weak links in your core and/or grip strength. This skill requires full-body tension, from your feet all the way up to your shoulders. Without it, you won’t be able to keep the bell in the bottoms-up position. It will flip over (and bang up your wrist and forearm—ouch!).
Stay safe. No matter how heavy your regular cleans are, start with a very light bell for bottoms-up cleans, and work your way up.
3. Double Clean
The double clean is no different than the proper clean, except that you clean a bell with each hand simultaneously. This requires more grip strength and more hip drive, plus a slightly wider stance to allow enough room to hike both bells without hitting your knees.
Again, safety first! Start with lighter bells until you get the hang of doing a clean with two bells, and when you feel comfortable with your technique, progress to heavier bells.
Common Errors With The Kettlebell Clean
The three most common errors you might experience when learning to perform kettlebell cleans include:
disconnecting your elbow from your body
bending your wrist
bending your knees
In the video below, I review common errors and cues to help you avoid them.
As with any new skill, focus first on understanding and learning how to perform a basic clean correctly. Pattern and practice it with a lighter load, and only after you’ve mastered the basic movement, progress to using a heavier bell. In order to build a solid foundation and stay safe and injury-free, it’s important that you follow this approach. Though it is an often-overlooked foundation movement in kettlebell training, when executed correctly the kettlebell clean (and its many variations) is one of the keys to developing a strong, functional core and unlocking your explosive hip power.
Adding this exercise and its variations to your arsenal ensures that you’re incorporating big bang-for-your buck exercises that will help you make progress instead of wasting your time on exercises that won’t get you results.
If you’ve been training harder and harder, only to realize that you’re not getting the results you’re looking for, and you want some more guidance, we can help.
There’s nothing more heartbreaking than watching women exhaust themselves in the gym, desperate for results, only to end up spinning their wheels and not making the progress they want to make. That’s why we created our FREE Report, Why You’re Training Hard And Not Seeing Results.
In this FREE Report, we detail why you’re probably not getting the results you desire, and how you can remedy it. The good news? It’s simpler than you might think! (And it doesn’t involve working harder!)
I own and use many wooden spoons. You might say that I am something of a wooden spoon collector. There’s nothing that delights me more than when, in my travels, I come across a wooden spoon in an entirely new shape. Perhaps the bowl is elongated or deeper, or the handle is thick or graduated or offset — the list goes on. And, of course, the shape and size determine the jobs for which the spoon is best suited: it might be used to gently thwack rice or wheat; to stir a region’s special starchy stew; or to push skewered meat on a grill a quarter turn.
But while it’s true that there are many different wooden spoons out there and that they can do many things, sometimes you can only have just one. Sometimes your countertops or non-existent drawer space aren’t designed to house an entire collection and you have to choose.
If that is the case, what should you look for in a wooden spoon?
Originally Posted At: https://breakingmuscle.com/feed/rss
Find out how to take care of your most complex series of joints to improve your lifting and overall shoulder health.
The shoulder joints are a complex, in both senses. They’re a physically complicated group of joints that, when healthy and acting together, make up the most marvellous, flexible, and sublime piece of natural architecture.
Originally Posted At: https://breakingmuscle.com/feed/rss
When it comes to nutrition, overcoming excuses is just a matter of mindset.
With a full-time job, gym time, social time, relax time, and anything else life demands, meal prep can be a daunting task. Fall brings back-to-school time, and that can be the last straw.
Poor meal planning or a poor mindset (or both) can ruin all of the hard work we put in during training sessions. However, in order to see results, efforts must be made in the kitchen. The tough part about reaching fitness goals isn’t the one hour in the gym, it’s the other 23 hours of each day that require proper nutrition.
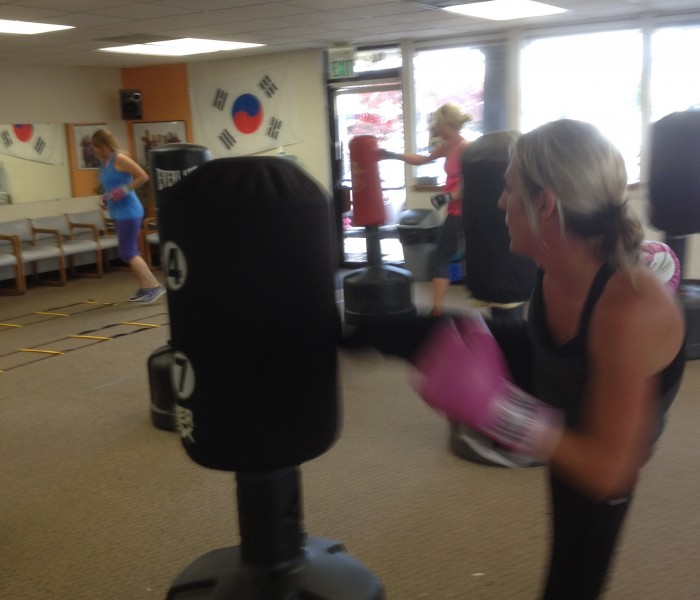
For now classes are 6pm and 640pm at 2840 Wildwood st in the Boise Cloggers studio.
Book your class NOW!
click this ==>
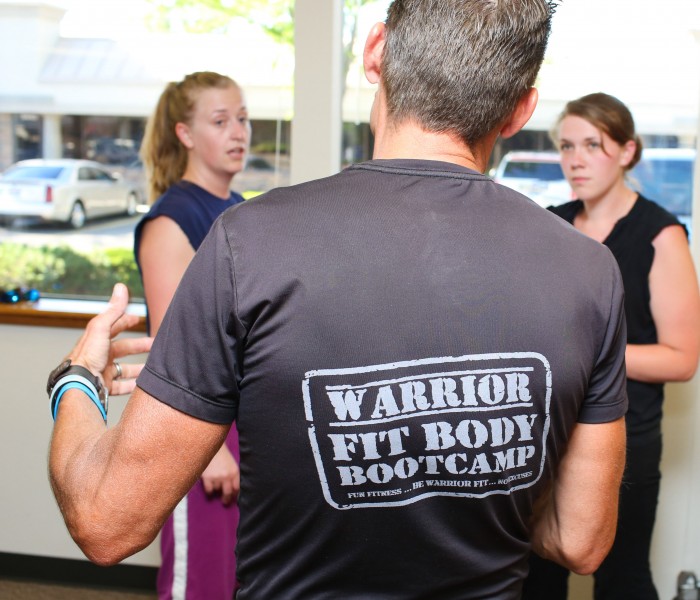
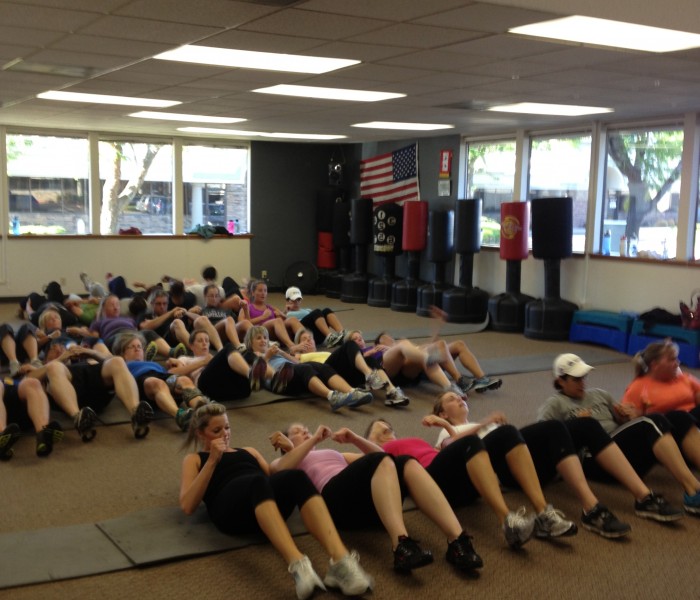
Warrior Fit Testimonials
First, I want to say thank you for convincing me to do Tabata! I was struggling to lose weight and Finally I found something that helped! I really appreciate your coaching! - Craig T.
Ever since I was convinced to do Tabata I have seen huge results, I lost 6 pounds and gained energy in the first 3 weeks. I have been working out for 3 months before I decided to do Tabata and I struggled to lose weight.
At first I thought "How am I losing weight by bringing my heart rate up then cooling down then bringing it up again?" I don’t know how it works but it does!
Thank you!! - Theresa F.
The first day of Tabata, I wondered WHAT AM I DOING - I AM 56 !! Five weeks later I knew that it was what I needed. I learned that I could push myself well beyond my comfort zone and feel good later. I have a marked improvement in physical as well as emotional endurance. - Lyn C.
When I was first told about Tabata I was very excited from the word go, however that excitement stemmed from the fact that I had no clue what it meant. I missed the first week of class b/c I was traveling for work so when I came in during the 2nd week I had some making it up to do.
It was hard at first b/c my body wasn't used to working out at such a fast pace, but once I got into a rhythm I started to feel very good. These classes are no joke. If you stick with it you will leave there feeling stronger, healthier and overall better about yourself and what you've accomplished.
I would recommend these classes to anyone. Darrin is a great trainer and he'll keep you going with his energy.
- Jami L.
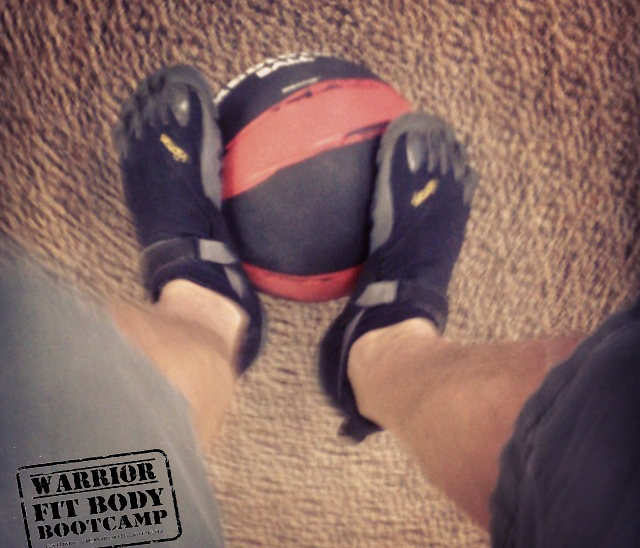
Warriors Fit Audio
Warrior Fit uses High Intensity Music to get ya Moooovin' So we can all "Get Our Sweat On"
The link below will give ya a freeee shot at Audible plus a couple audio books just to try it out and if you haven't used audio books on your commutes you are missing out. Get pumped up before you get to where you are going and exercise your mind. I use it Everyday. Go get yours now!


 For now classes are 6pm and 640pm at 2840 Wildwood st in the Boise Cloggers studio.
Book your class NOW!
click this ==>
For now classes are 6pm and 640pm at 2840 Wildwood st in the Boise Cloggers studio.
Book your class NOW!
click this ==>


