
Originally posted at: http://www.nerdfitness.com/
This is an article by NF Team Member Staci. This is part two in a two part series. Missed the first article? Head on over and check out Why You Should Meal Prep.
So, you’re convinced that it’s at least WORTH A TRY to see if this meal prep thing can save you tons of time, money, and help ensure you level up. That’s awesome!
Today we’re going to start with the easiest version of meal prep, which we’ll call “level 1.” Now, make no mistake, just successfully accomplishing this meal prep every week can be an enormous aid in effortlessly leveling up. In fact, it was the exact meal prep that we are going to go over today that helped me lose fat and build strength years ago.
So, let’s get to it: In today’s step by step guide we are going to make five meals: lunch every day. I highly suggest you start off with just one daily pre-prepped meal, and I suggest lunch. Why?
- If you work a 9-5, it’s most likely the meal you have the most control over, since you’re away from your family.
- Many people are already looking to bring their lunches to work or school with them.
- Going out to lunch every day is expensive and the options are often extremely unhealthy.
- When you’re stressed at work, it’s so easy to just go to the break room and grab some leftover pizza or cake (or anything else) – but if you have your meal with you, it’s much easier to say no.
When I first started, I just swapped out my lunch with a healthier “planned ahead lunch” and I lost about 10lbs in the first month. Everything else was the same, I was still going out to eat every night and was still working on (and failing at) creating my workout habit. Now, everyone’s schedule is different, so feel free to start with a different meal. The idea is the same: start small. No matter what meal or what your needs are, following the steps in this guide will set you up for success.
And if you want to do more later, great; think of this like the tutorial level. Once you get this down, we can start adding more meals and variety to it.
Level 1 Meal Prep: Equipment and Sample Shopping List
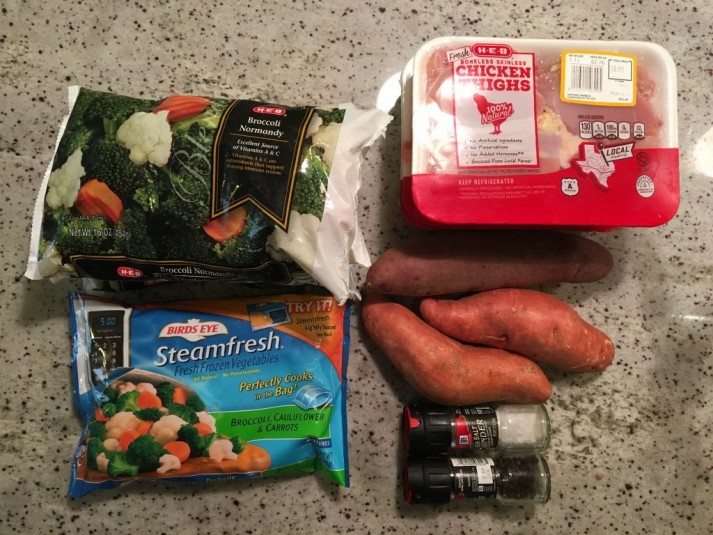
Sample Shopping List
- Chicken – (In this guide I grabbed thighs, but feel free to grab any 2.5 lbs of meat. I usually grab what’s on sale.)
- 2 large bags (16oz each) of veggies of your choice. I like the broccoli, cauliflower, and carrots mix the best because it gives some variety, but really any vegetable or vegetable mix will do here.
- 3-4 sweet potatoes, around 2.5lbs. Variety does not matter.
- Salt and pepper or your favorite seasoning mix(es)
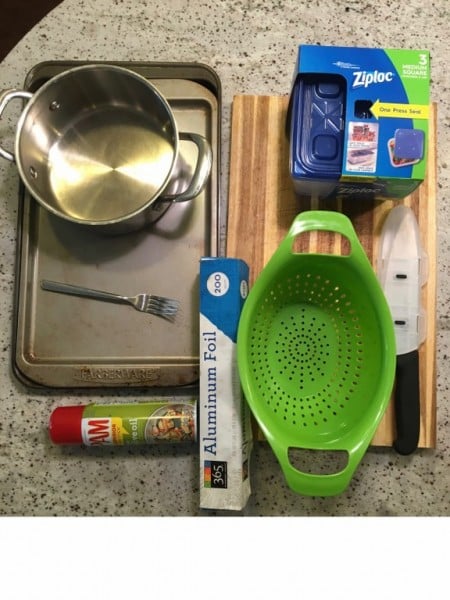
Equipment needed
- Baking sheets (2)
- Aluminum foil
- Large pot
- Colander
- Cutting Board
- Knife
- Non-stick spray or olive oil (optional, but recommended)
- Tupperware, individual containers or bags
Don’t have something above? Check out our article on kitchen essentials, complete with our recommendations!
The Process
Step One:
Take your large pot and dump both bags of veggies in. Add water until the vegetables are covered, and put on the stove on medium high heat.
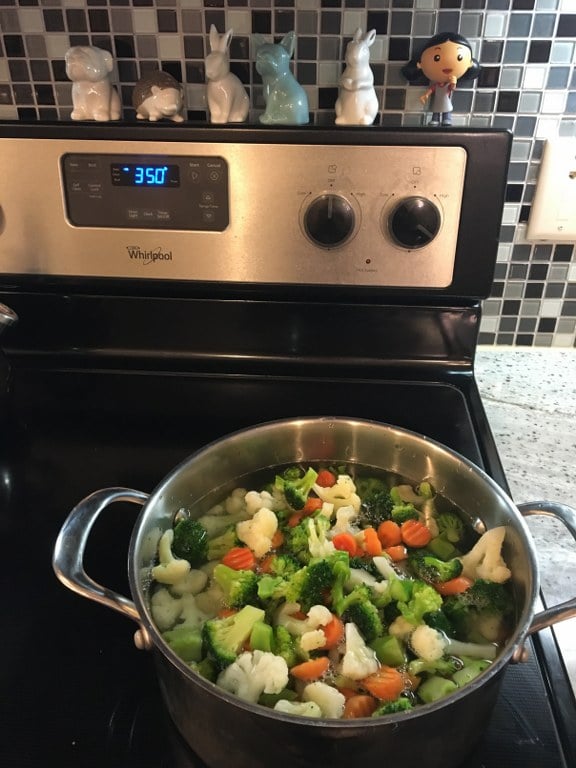
Quick tip: You can skip this step all together if you buy 5 bags of steamfresh veggies and put one with each meal.
While you’re at the stove, turn your oven on and pre-heat to 350 degrees farenheit.
Step Two:
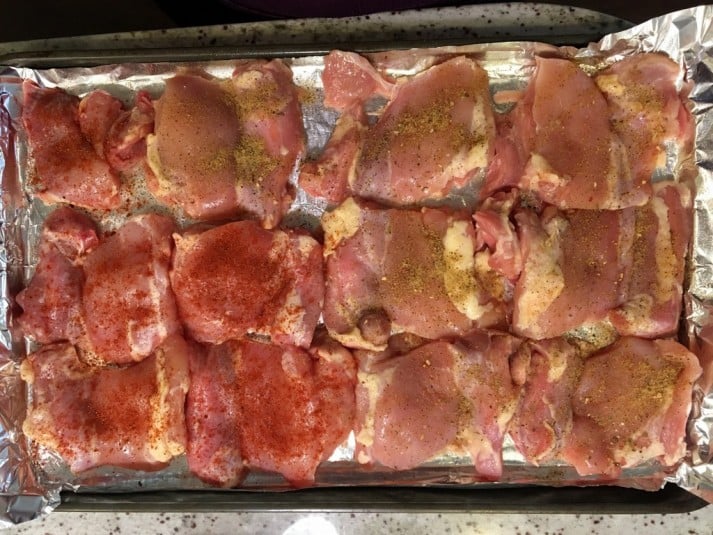
Take one of the baking sheets and cover it with aluminum foil, and then spray it with the non-stick spray.
Take the chicken thighs and line them up on the baking sheet. Season them with salt and pepper or your seasoning of choice. I like to use two different seasonings to change things up a bit (in this photo I’m using X and Y). If you aren’t sure what to use, use salt and pepper, or just grab one at the store that looks good that says CHICKEN. If you are feeling adventurous, we wrote a whole post on diverse spice options to fit any occasion!
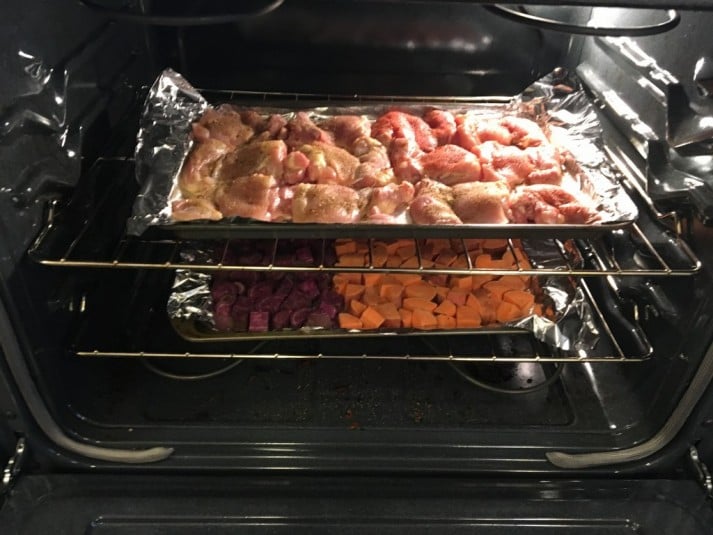
Your oven should be at 350 degrees now – pop the chicken thighs in on the middle rack and set a timer for 25 minutes (or note what time it is)
Step Three:
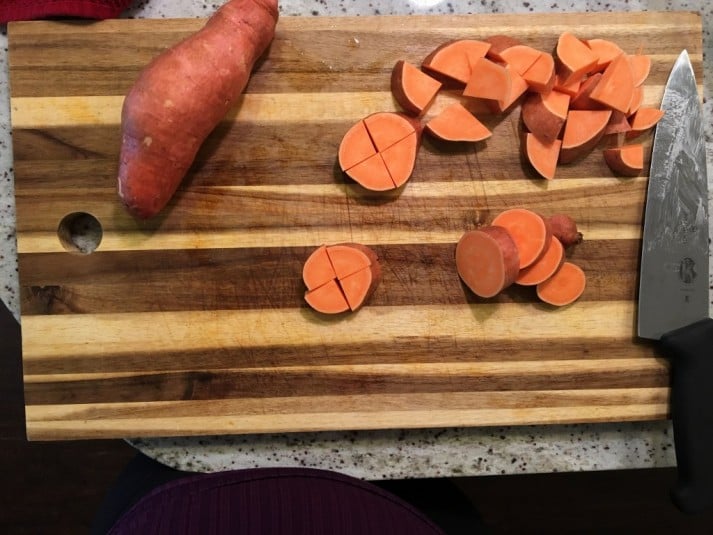
Wash your sweet potatoes, and then grab your cutting board and knife and (carefully!) cut up your sweet potatoes. I usually cut into slices and then cut each slice twice to create small chunks. The exact way you do it isn’t important, but the goal is to get the chunks around the same size (they bake more evenly that way).
Grab your second baking sheet, line it with foil, and spray the foil with your nonstick spray.
Lay the potato pieces out evenly across the sheet.
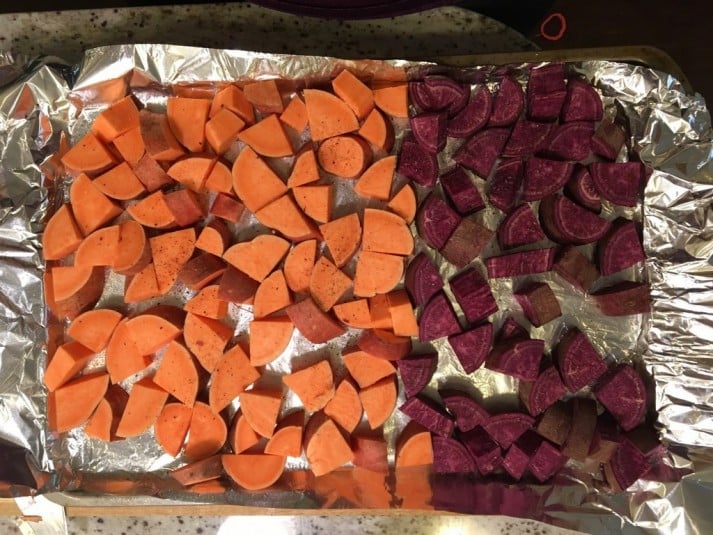
I like to get multiple types of sweet potatoes to add color and variety and because it’s more fun that way. Obviously this is totally optional.
Next, put them in the oven on the other rack. Note the time or set a second timer for 30 minutes.
Step Four:
At this point, you’ve got two things baking away, and your veggies should be done by now. So, grab your colander and strain them.
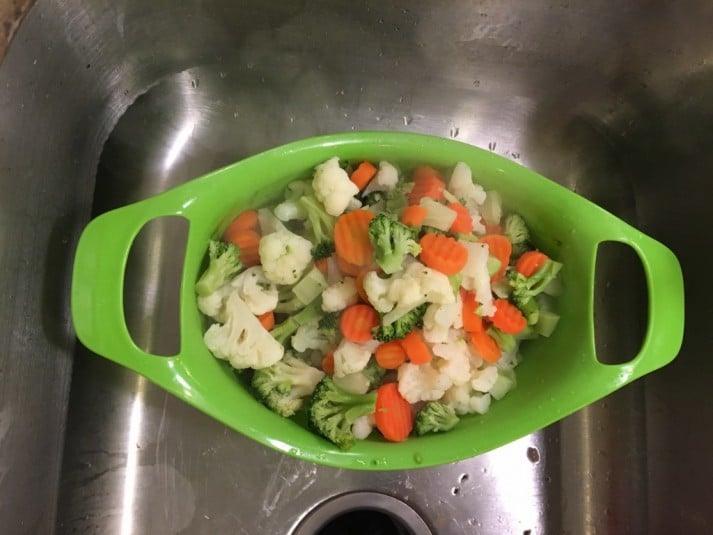
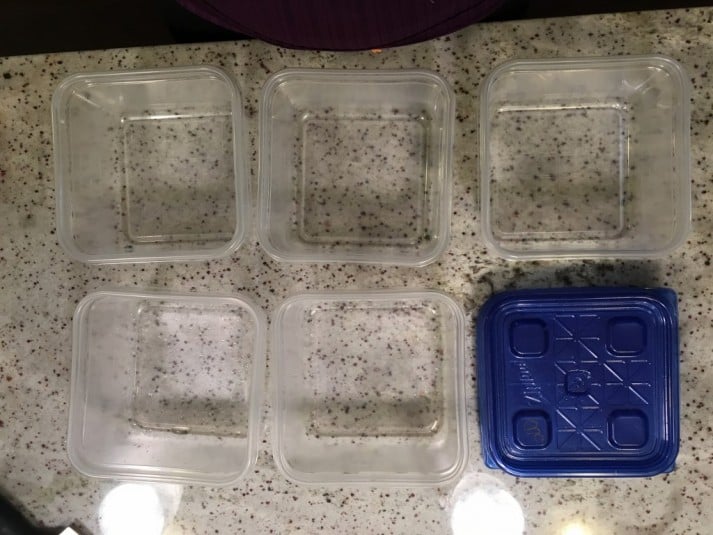
While those are cooling, grab your five containers and lay them out, like this:
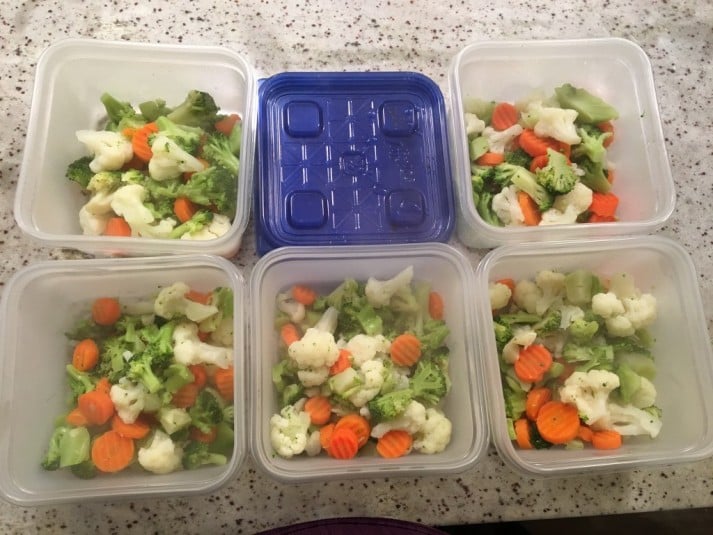
And then add the vegetables into the containers.
I like using a food scale purely so I can portion easily, but you can also use a serving spoon, measuring cup, or just eyeball it.
Step Five:
At this point, it’s time to check on our chicken. At 350 degrees, chicken thighs usually take around 25-30 minutes. They’re done when the internal temperature reaches 165 degrees. If you don’t have a meat thermometer, just cut one of the thicker ones open and look. Done chicken should look like this not this.
If it’s not done, you can spend the time cleaning up a bit, playing a game of smash, or dancing around to Suburban Legends.
If it IS done, pull it out of the oven and set it aside. Be careful, because chicken thighs tend to have a lot of juice in the pan, and it’s easy to splash and burn yourself.
I usually like to let the chicken cool a bit before portioning it, so this is usually another good cleaning (or dancing) opportunity, because you’ve probably got another 10 minutes before the sweet potatoes are done.
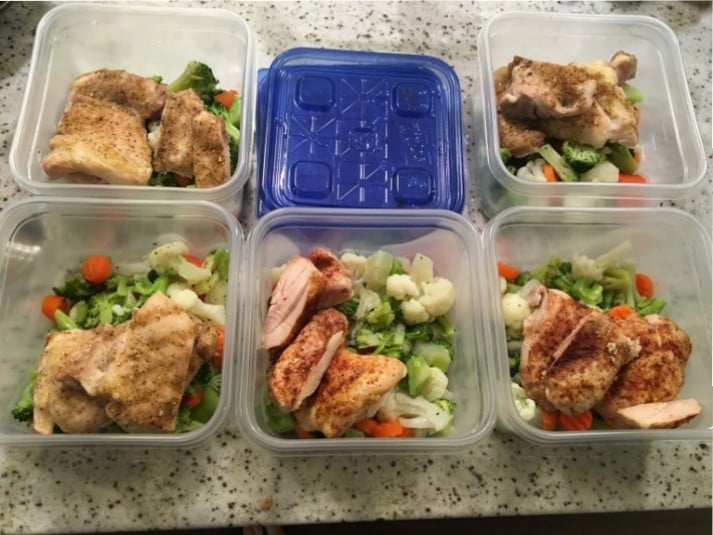
After a few minutes, I portion the chicken thighs out. I usually do 1.5 thighs per container (for those of you into the numbers, one full chicken thigh is usually between 3 and 4 oz, so 1.5 is usually around 6oz). Feel free to adjust portioning depending on your caloric needs, but one full chicken thigh is a great starting place for many. If I have any left over, I’ll put it in a side container and eat it as a snack, or put it in the freezer.
Step Six (last one!):
Ding! Sweet potato timer goes off – so open up the oven and poke them with a fork. Are you able to poke all the way through? Then they are done! Pull them out, set them aside, and add a handful or two to each container (using tongs if you haven’t waited for them to cool).
These will last 4-5 days in the fridge. Looking for specifics? Check out stilltasty. If you’re nervous about those last few days, just put 2 in the freezer and pull them out Wednesday night in preparation for Thursday and Friday.
And that’s it! Five delicious ready to eat meals that will help you keep on track with your nutrition throughout the week, even when you get stressed out or things don’t go quite as planned.
What questions or tips do you have? What’s your favorite meal to meal prep?
What did I miss in this article that I can cover in the future?
-Staci
Filed under: Fitness
 For now classes are 6pm and 640pm at 2840 Wildwood st in the Boise Cloggers studio.
Book your class NOW!
click this ==>
For now classes are 6pm and 640pm at 2840 Wildwood st in the Boise Cloggers studio.
Book your class NOW!
click this ==>


